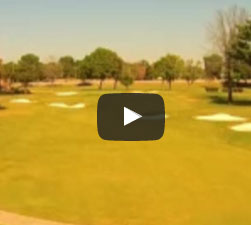
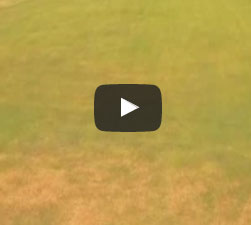
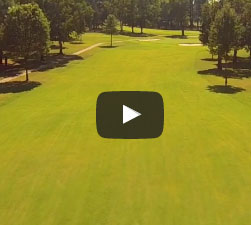
Hole 1
Difficult par 4 to begin the round; a narrow fairway and a well-bunkered green places a premium on distance and accuracy. A par on this hole is never a bad way to start.
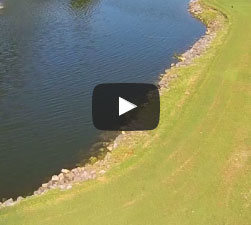
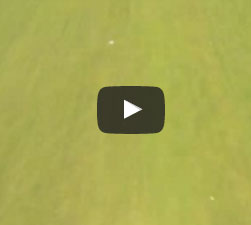
Hole 2
This is our signature hole with carry over a water hazard to a small target. A well-placed mid-iron on the left bank might be a good choice for those with a gambler’s heart!
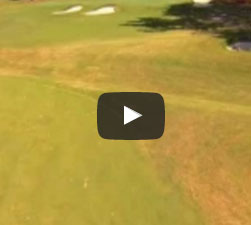
Hole 3
Short par 4 with fairway bunkers down the left side that long hitters need to be aware of. Once the bunkers are navigated, a short iron awaits you and it must be kept below the hole for the best chance at birdie.
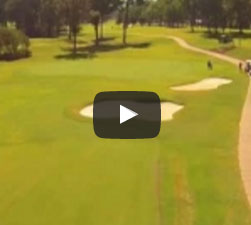
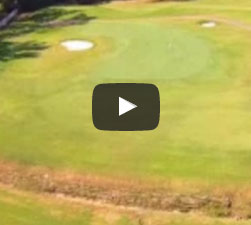
Hole 4
Dogleg left par 4 where a drive in the fairway is at a premium. Attack this green from the right side of the fairway for the best view and the best chance at a back hole location.
Hole 5
Toughest driving hole on the front 9. A well placed tee shot up the right side offers the best approach to the green. The green has a subtle slope on the right side that will cause a shot to that side to roll off the green.
Hole 6
Accuracy is in high demand for this hole for the tee shot and approach shot. Numerous bunkers are in play both off the tee and around the green. Although short in length, it can pose serious problems for any shot taken from other than the fairway.
Hole 7
A long par 3 guarded by bunkers places a premium on distance and accuracy. Don’t be fooled by the first two bunkers that look as though they are near the green complex.
Hole 8
Short par 4 where an accurate drive will afford the best approach to this tiny green. If the flag is located on the front portion of the green—good luck!
Hole 9
Longest par 4 on the front where length and accuracy are extremely important to navigate this hole successfully. A perfect drive up the left side of the fairway offers the best approach to the green that is guarded by bunkers and offers one of the trickiest putting surfaces on the course.
Hole 10
Downhill dogleg right par 4 that requires a well-struck tee shot down the right side to give the golfer a short iron to the green. The green requires a demanding approach shot when the hole is on the back tier or tucked on the front left. Did I mention the difficult bunkers surrounding the green?
Hole 11
Shortest hole on the course but by no means the easiest with 3 bunkers down the right side that place a premium on the tee shot. Most should check their egos at the tee and use a fairway metal or hybrid to find the left side of the fairway. Slopes and undulations on the green pose difficulties for the short iron approach.
Hole 12
Long dogleg right Par 5 that is reachable for those with length off the tee. Most should play smart and layup on their second shot from 80-130 yards out that will afford the best chance for a sure par and possible birdie.
Hole 13
Long Par 4 with the fairway hidden from the back tee view. Trust the sightline of the steeple on the horizon to find the fairway. From the front set of tees, be sure to keep the ball left-center off the tee as the slope may take it all the way out of the fairway if right of center. The second shot is no pushover as there are several ways to navigate your way to a par.
Hole 14
Very reachable Par 5 if the tee shot is well-struck and finds the fairway. If you have more than a mid-iron for your second shot it may be wise to layup to a safe distance that allows a short wedge approach. The green offers several unique hole locations that place a premium on distance control with a second or third shot to this elevated, well-bunkered green.
Hole 15
A beautiful tee shot awaits you on this Par 3. Word to the wise, make sure you keep the ball below the hole or a very challenging and tricky putt will be left on this green that slopes from back to front.

Hole 16
Your tee shot must find the fairway to offer the safest and best approach to the longest green on the course with multiple undulations and slopes that could make the best putters wince at what is left. Traditional shot-making might be the best to hold this green but the front allows for a run-up if necessary.
Hole 17
Quite possibly the best little Par 3 in the area. Don’t be misled into thinking that a mid to short iron approach is easy. The green is very narrow but extremely long and will allow the hole length to be played from just over 100 yards to 195 yards depending on the tee and hole cut. A back left hole location should be approached with wisdom!
Hole 18
The fairway slopes from left to right and is only 28 yards wide in the landing area for the tee shot. What awaits you is quite possibly the most scenic second shot you will be faced with! The decision to layup short of 5 fairway bunkers that range from 60 to 120 yards on length from the green awaits your second shot. If you choose to attack and go for the green in two, good luck. Several key hole locations will determine the outcome of many tournament rounds!